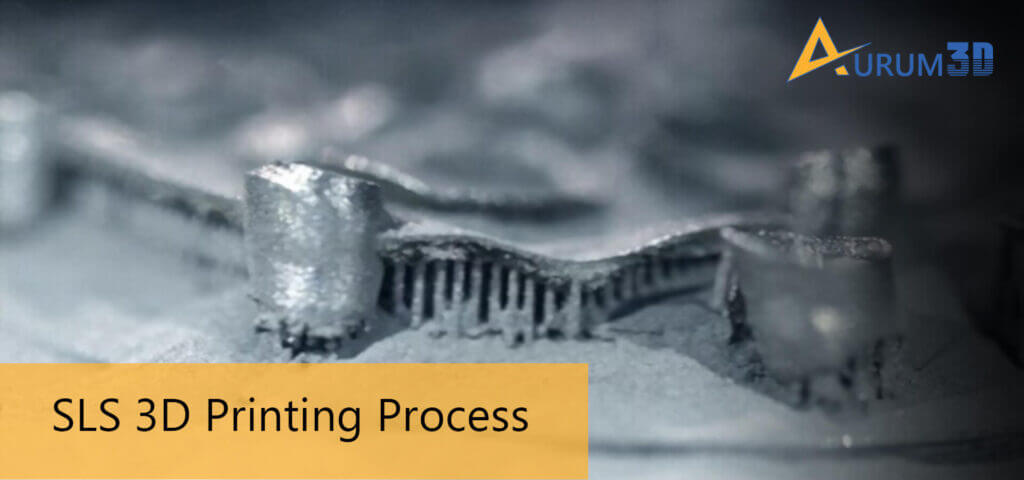
You can produce solid three-dimensional objects from digital three-dimensional models using various 3D printing technologies. Each 3D printing technology produces the three-dimensional object physically by processing and curing the filament in a specific way. Selective laser sintering (SLS) 3D printing technology forms the solid structure by sintering powdered materials using a high-power laser.
According to Wikipedia,
“Selective laser sintering (SLS) is an additive manufacturing (AM) technique that uses a laser as the power source to sinter powdered material (typically nylon or polyamide), aiming the laser automatically at points in space defined by a 3D model, binding the material together to create a solid structure.”
The use of laser as the power source makes SLS different from other widely used 3D printing technologies like Fused Deposition Modeling (FDM) and Stereolithography (SLA). You can opt for SLS as a fast and inexpensive 3D printing technology. You can produce parts and prototypes with high-level strength, stiffness, resolution, and dimensional accuracy through the SLS 3D printing process.
Also, you have the option to create structures using a variety of powdered materials, including nylon and thermoplastic polymers. But you must understand the key steps in the SLS 3D printing process to produce the item that meets your requirements precisely. Also, you should adopt a slew of best practices to streamline and boost the SLS 3D printing process.
3 Important Steps in SLS 3D Printing Process
As the name suggests, SLS 3D printing technology forms solid parts, prototypes, models, and structures by sintering powdered material selectively using a laser as the power source. The high-power laser produces the solid three-dimensional object from the CAD file by fusing the powdered plastic filament. But the solid structure is formed through a series of steps in the SLS 3D printing process – printing, cooling, and post-processing.
Printing
Before the printing process starts, the SLS 3D printer disperses thin layers of the powdered material into the build chamber. It further preheats the powdered material in the build chamber up to the pre-melting temperature level. The laser scans the preheated material and heats it to the melting point according to the CAD file.
The fused particles create the solid structure mechanically, while the unfused material provides support to the 3D-printed structure. Hence, SLS 3D printing technology does not require you to use a support structure. The 3D printer repeats the process and forms the solid part by fusing the powdered material layer by layer.
Cooling
The item formed through the fusion of particles must cool down properly to retain mechanical properties and avoid warping. That is why; you must cool down the build chamber adequately after the SLS 3D printing process. You should not remove the finished part from the build camber immediately after the printing process.
Post-Processing
After removing the finished part from the build chamber, you need to enhance its look, feel, and feature by removing and cleaning excess material. Some parts produced using SLS 3D printing technologies need post-processing using media tumbling or media blasting techniques. You can recycle the unfused and excess materials to curtail overall material consumption and wastage.
3D Nesting Best Ideas to Boost SLS 3D Printing Process
According to Fraunhofer SCAI, “3D Nesting is about arranging objects as well as possible in cuboid containers. The objects themselves do not have to be cuboids but can be objects of any complexity. An important field of application is 3D printing, in particular, printing processes without support structures such as SLS: here the objects to be printed can usually be placed in the entire print chamber.”
You can easily boost the SLS 3D printing process by leveraging 3D nesting techniques. The 3D nesting technique helps you increase the quality and volume of 3D-printed items, along with curtailing overall printing time and cost. You can adopt a slew of 3D nesting best practices to place multiple parts in the build chamber accurately during the SLS 3D printing process.
Placement of Items
The shape and quality of the 3D-printed object are impacted adversely when you move them towards the corner. The placement increases the chances of the build chamber remaining under-heated. You must print the part in the center to keep its quality intact by maintaining heating stability.
Arrangement of Items
You can print items of varying sizes during a single SLS 3D printing process. But you can boost the quality of individual items only by arranging them properly. It is advisable to place bigger items in the center of the build chamber while moving the smaller items to the chamber’s edge. The arrangement will help you to control heating throughout the printing process.
Position of Items
Often beginners increase material consumption and printing time by ignoring the position of items in the heat chamber. But experienced printers always position the items flat on the print bed. The positioning ensures proper heating along with accelerating the SLS 3D printing process.
Upward Facing Position
While printing items with open sides, you must make the open sides face up. As the open sides face upward, it becomes easier to control heating. Also, the open side accelerates the printing process by providing the parts with a temperature outlet. However, you need to ensure that the open side of one item does not close or cover others.
Cage Structure Support
You should consider using a cage structure while printing multiple and small parts with varying elements. You can create the cage structure using a 3D printer. The cage structure will make it easier for you to separate and clean the items more accurately at the post-processing stage. Also, you can mitigate errors while assigning specific parts to individual projects before delivery.
In addition to curtailing overall 3D printing time and costs, SLS technology enables you to produce robust parts, models, products, and models with high dimensional accuracy. But you must remember that SLS, like other widely used 3D printing technologies, has several shortcomings. Hence, you must focus on streamlining and boosting the SLS 3D printing process by implementing a slew of nesting best practices.
About Aurum3D
We are amongst the major 3D printing service providers in Bangalore, India. We have been providing FDM, SLA and custom SLS 3D printing services to many major industries. Please feel free to get in touch with us for your custom needs, our 3D printing solutions experts will get back to you within one business day.